

Ever had your tool belt fall apart mid-project? Frustrating, right? I’ve been there, and let me tell you, it’s no fun scrambling for loose screwdrivers while balancing on a ladder.
But here’s the deal: fixing your tool belt doesn’t have to be a pain in the ass. In fact, with a little know-how, you can patch that bad boy up and get back to work in no time.
So grab a cold one, and let’s dive into the nitty-gritty of tool belt repair.


Why Bother Fixing Your Tool Belt?
Look, I get it. You might be thinking, “Why not just buy a new one?” But hear me out:
- Save some cash: A good tool belt ain’t cheap. Fixing it can save you a chunk of change.
- Sustainability: Less waste, less guilt. Mother Earth will thank you.
- Sentimental value: Maybe it’s the belt your old man gave you. Some things are worth fixing.
- Customization: You’ve got that belt juuust right. Why start over?
- Skill building: Learning to fix your gear makes you a more self-reliant DIYer.
- Quick fixes: Sometimes you need a repair on the spot, and knowing how to do it can save your bacon.
Common Tool Belt Issues (And How to Spot ‘Em)
Before we get our hands dirty, let’s talk about what might be wrong with your belt:
- Torn pockets: You’ll see frayed edges or actual holes. This is usually from sharp tools or overloading.
- Broken buckles: The clasps won’t stay closed or are straight-up busted. Often caused by dropping the belt or excessive strain.
- Worn straps: They’re thin, frayed, or starting to tear. This happens over time from the weight of your tools.
- Loose stitching: Threads are coming undone, especially at stress points. Look for this at seams and pocket corners.
- Damaged rivets: They’re loose, missing, or pulling away from the fabric. Check spots where straps connect to the main belt.
- Stretched out belt: The belt’s lost its shape and doesn’t fit snugly anymore. This can make your tools sag and shift.
- Cracked leather: If you’ve got a leather belt, look for dry, cracked areas that might split under pressure.

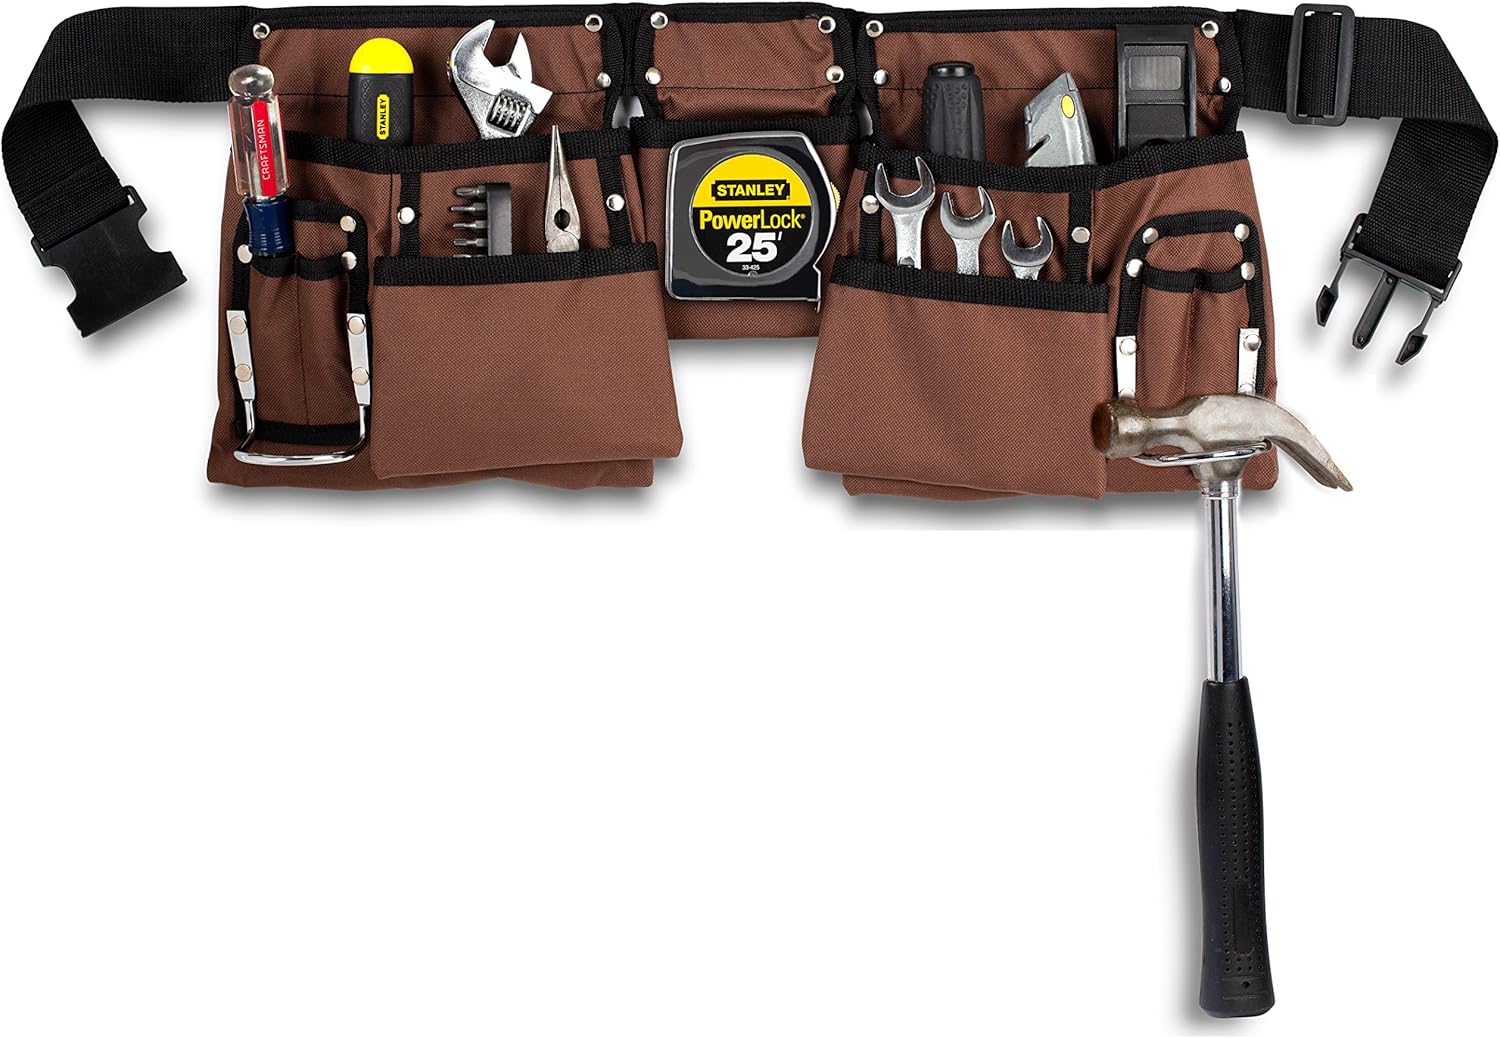
Tools You’ll Need for the Job
Alright, time to raid your toolbox (or your buddy’s). Here’s what you’ll want:
- Heavy-duty thread and needle
- Leather punch (if you’re dealing with a leather belt)
- Replacement buckles or rivets
- Strong fabric glue
- Scissors
- Pliers
- Screwdriver set
- Awl (for making holes in tough fabrics)
- Lighter (to seal thread ends)
- Sandpaper (for roughing up surfaces before gluing)
- Measuring tape
- Chalk or fabric marker
- Rivet setter (if you’re replacing rivets)
Pro tip: Grab a beer while you’re at it. Everything’s easier with a cold one, right?
Safety first: Don’t forget your safety glasses. Flying needles or metal bits are no joke.
Step-by-Step: How to Fix That Belt
Let’s get down to business. Here’s how to tackle the most common tool belt issues:
Repairing Torn Pockets
- Clean the area around the tear.
- For small tears: Use fabric glue to seal the edges, then reinforce with stitching.
- For bigger holes: Cut a patch from similar material, glue it in place, then stitch around the edges.
- For leather: Use a leather patch and leather adhesive, then stitch if needed.
Real talk: Don’t skimp on the stitching. Double or triple stitch that sucker for extra strength.
Replacing a Broken Buckle
- Remove the old buckle (you might need to cut it off).
- Thread the new buckle onto the strap.
- Secure it in place with rivets or heavy-duty stitching.
- If using rivets, make sure they’re set tightly and won’t pull through the fabric.
Reinforcing Worn Straps
- Cut a strip of sturdy fabric or leather slightly wider than the worn area.
- Glue it to the underside of the strap.
- Stitch around all edges for extra durability.
- For leather straps, consider using a leather conditioning treatment to prevent future wear.
Fixing Loose Stitching
- Remove any loose threads.
- Re-stitch the area using a heavy-duty thread.
- Use a backstitch for extra strength.
- Seal the thread ends with a lighter to prevent fraying.
Keep in mind: If you’re dealing with a lot of loose stitching, it might be worth re-stitching the entire seam for consistency.
Replacing Damaged Rivets
- Remove the old rivet with pliers or by drilling it out.
- Line up the new rivet and punch a hole if needed.
- Use a rivet setter to secure the new one in place.
- Test the rivet by tugging on it firmly to ensure it’s set properly.
Tightening a Stretched Belt
- If it’s leather, punch new holes closer to the end of the strap.
- For fabric belts, you might need to cut off excess material and re-secure the buckle.
- Consider adding extra padding to the inside of the belt for a snugger fit.
Treating Cracked Leather
- Clean the leather thoroughly with a damp cloth.
- Apply a leather conditioner generously.
- Work the conditioner into the cracks with your fingers.
- Let it sit overnight, then buff with a clean cloth.
- For severe cracks, you might need to use a leather filler before conditioning.
DIY hack: No leather conditioner? A little olive oil can work in a pinch, but don’t overdo it.
Preventative Maintenance: Keep That Belt in Fighting Shape
Listen up, ’cause this is important. A little TLC goes a long way in keeping your tool belt from falling apart in the first place:
- Clean it regularly: Wipe it down after each use. Dirt and grime can wear down the material faster than you’d think.
- Oil leather belts: Use a leather conditioner every few months to keep it supple.
- Don’t overload: Spread the weight evenly and don’t stuff pockets beyond capacity.
- Store it properly: Hang it up when not in use. Don’t just toss it in a corner.
- Inspect often: Catch small issues before they become big problems.
- Rotate your tools: Don’t always keep the heaviest tools in the same spots.
- Use the right pockets: Put sharp tools in pockets designed for them to avoid tears.
- Avoid extreme temperatures: Heat can dry out leather, and cold can make it brittle.
- Keep it dry: Moisture is the enemy of both leather and fabric belts.
When to Throw in the Towel (Or Belt, in This Case)
Look, I’m all for fixing things, but sometimes you gotta know when to call it quits. Here’s when it might be time for a new belt:
- The main strap is severely compromised
- Multiple repair attempts haven’t held up
- The cost of repairs is close to a new belt
- Safety is compromised (you don’t want tools falling on your toes, trust me)
- The belt’s ergonomics are shot, causing you discomfort or pain
- You’ve outgrown its capacity and need more specialized pockets
Reality check: Sometimes, investing in a new, high-quality belt is the smartest move for your work and your body.
Tools and Materials Needed – The Complete List
Wrap It Up and Take Action
Alright, tool warriors, there you have it. Fixing your tool belt isn’t rocket science, but it does take a bit of elbow grease and know-how.
Remember:
- Assess the damage thoroughly before you start
- Gather your supplies – being prepared makes the job smoother
- Follow the steps for your specific issue – don’t try to shortcut it
- Show your belt some love with regular maintenance – prevention is key
- Know when it’s time to retire your old belt – safety first, always
Now get out there and fix that belt. Your wallet (and your tools) will thank you.
Pro tip: Share this guide with your DIY buddies. They’ll think you’re a freaking genius, and you’ll have backup next time you need an extra hand on a project. 🙂
Last word: Remember, a well-maintained tool belt isn’t just about keeping your tools handy. It’s about respecting your craft, working efficiently, and staying safe on the job. So take care of your gear, and it’ll take care of you.
Keep it real, keep it sturdy, and keep those tools at the ready. You’ve got this.
Now, who’s ready to tackle that project with a freshly fixed tool belt?
Tool Belt Troubleshooting Solutions

Maximizing Efficiency: Tips and Techniques for Using Your Tool Belt
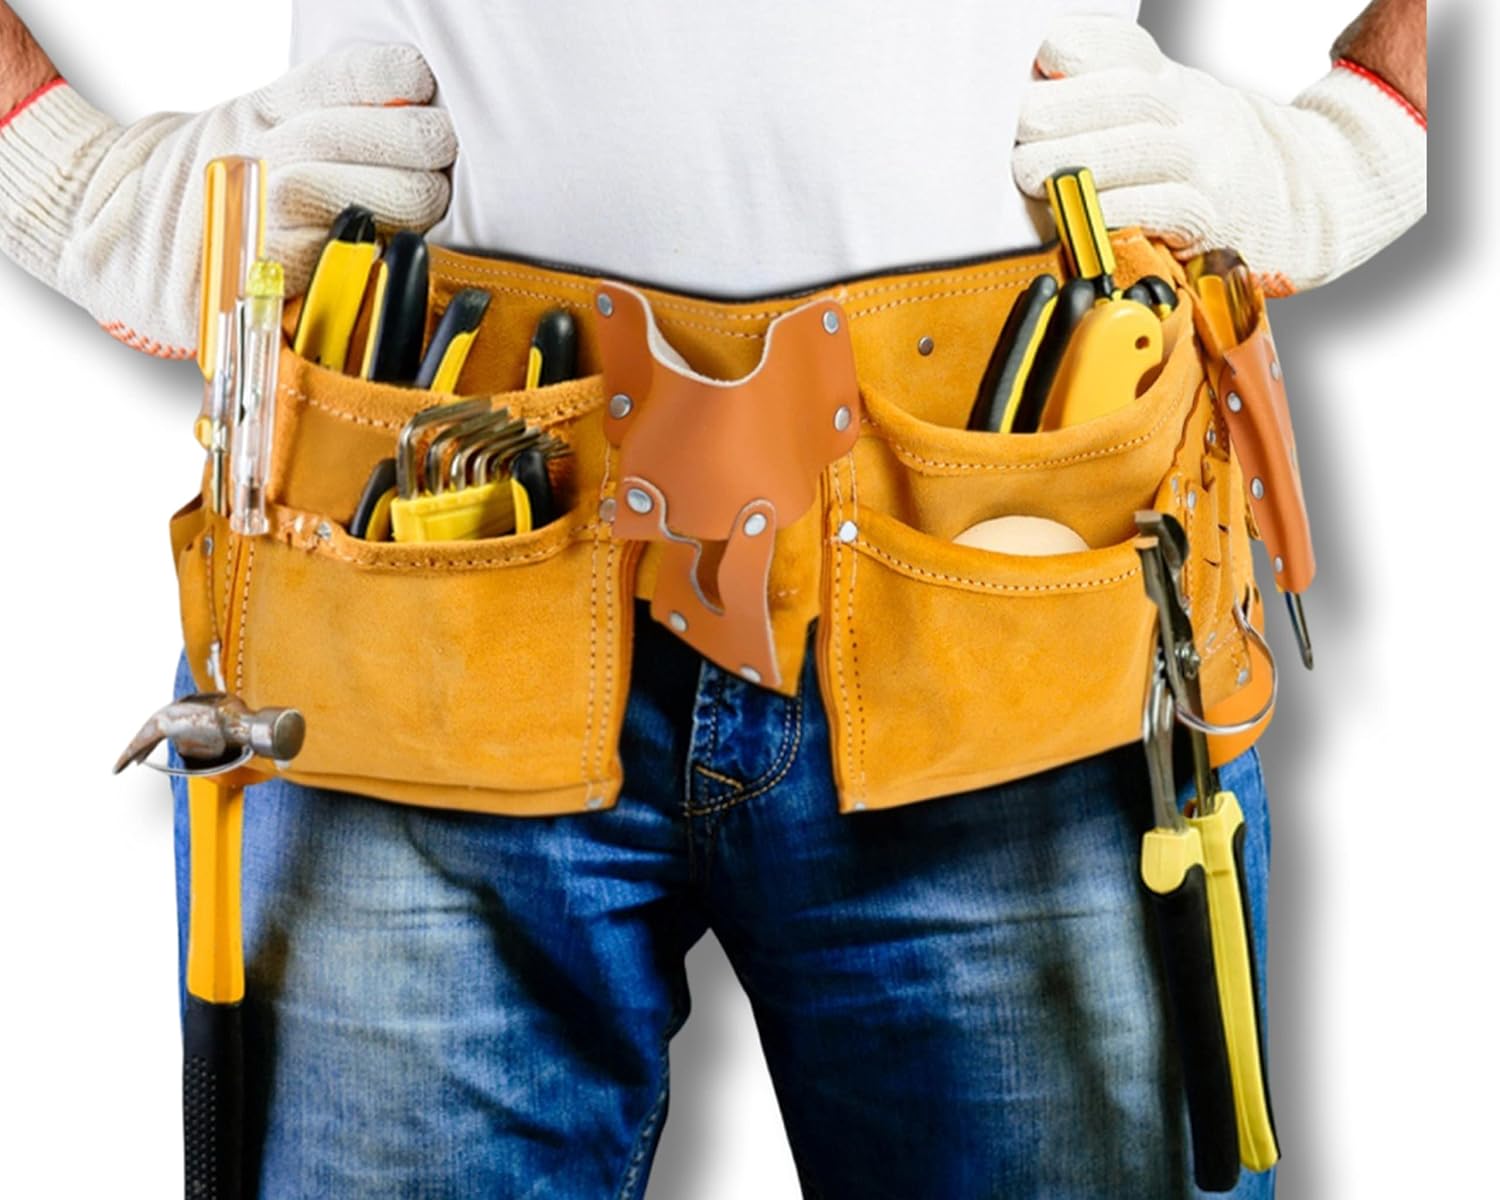
- First, choose the right tool belt that fits comfortably around your waist and has enough compartments for your tools
- Organize your tools in the belt according to frequency of use, with the most commonly used tools in the easily accessible pockets
- Make sure the tool belt is secure and fits snugly around your waist to prevent it from moving around during use
- Practice using the tool belt with different tools to become familiar with their placement and accessing them quickly
- Regularly check the tool belt for wear and tear, and replace any damaged parts to ensure safety and efficiency during use
Tool Belt FAQs: ‘Cause You Know You Were Wondering
Nah, go for heavy-duty or upholstery thread. Regular thread won’t cut it.
Give it a once-over before each use, and a thorough inspection monthly.
Depends on the material. Canvas belts can usually handle a gentle wash. Leather? Stick to spot cleaning.
Wear it around the house loaded with tools for a few days. It’ll conform to your body better.
If it’s good quality leather, hell yes. Those things can last decades with proper care.
Absolutely! Just make sure you secure them well and don’t overload the belt.
Leather and heavy-duty nylon are top contenders. Both have their pros and cons.
It should sit comfortably on your hips without sagging or digging in, even when fully loaded.
In a pinch, yes. But a proper leather conditioner is better for long-term care.
Try adding padding to the waist area or using suspenders to distribute weight better.


After following the steps, my tool belt feels as good as new! The guide was clear and concise, making the repair process much easier. Thank you for sharing these helpful tips!
We’re thrilled to hear that your tool belt feels like new after following the guide! Thank you for your positive feedback, and we’re glad the steps were easy to follow and effective for you.
I encountered some difficulties with step 7 when trying to adjust the fit of my tool belt. The instructions weren’t very clear on how to do this properly. Any advice on getting the right fit?
Adjusting the fit of a tool belt can vary based on the design. One tip is to measure your waist accurately and ensure the belt is snug but not too tight. Some belts have adjustable straps or buckles for fit customization. Feel free to reach out if you need more specific guidance!
Can you recommend a specific brand or type of tool belt that is known for durability and easy repairs? I’m considering investing in a new one and want to make sure it’s long-lasting.
For a durable and repair-friendly tool belt, brands like Occidental Leather, Carhartt, and DEWALT are known for their quality. Look for belts with reinforced stitching, sturdy materials, and replaceable parts for easy maintenance and repairs.
Thank you for sharing your experience! Using iron-on patches and leather conditioner are great adaptations. It’s wonderful to hear that the guide was helpful for you.
I found this guide extremely helpful in fixing my tool belt! I adapted step 3 by using iron-on patches for quick fixes on small tears. For step 6, I opted for a leather conditioner to maintain the belt’s quality. Overall, the steps were clear and easy to follow.
Any tips for organizing tools in the belt more efficiently? I find that I often struggle with the layout and end up wasting time searching for specific tools when I need them.
A helpful tip for organizing tools in your belt is to group them by type or frequency of use. You can also consider using tool pouches or dividers to keep items separated and easily accessible. Experiment with different layouts to find what works best for you.
Are there any advanced tips for reinforcing weak seams effectively? I want to ensure my tool belt lasts longer after repairs.
For advanced reinforcement of weak seams, you can try double-stitching with heavy-duty thread or applying a layer of fabric glue along the seam before sewing. These methods can provide extra durability to your repairs.
I disagree with step 10 about seeking professional help. Sometimes DIY repairs can be sufficient, and it’s good to try fixing things on your own before seeking professional assistance. What do you think?
That’s a valid perspective. DIY repairs can indeed be effective, but it’s also important to know when a repair might require professional skill or tools beyond what you have. It’s always good to start with DIY and then seek help if needed.