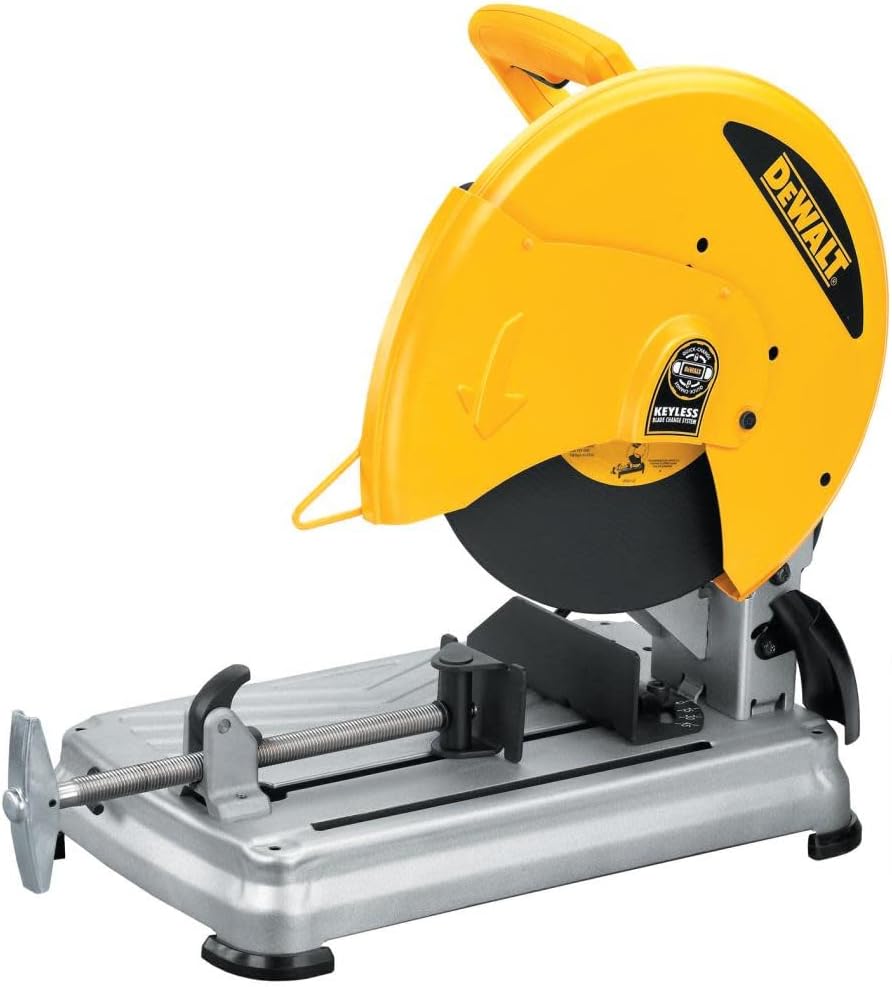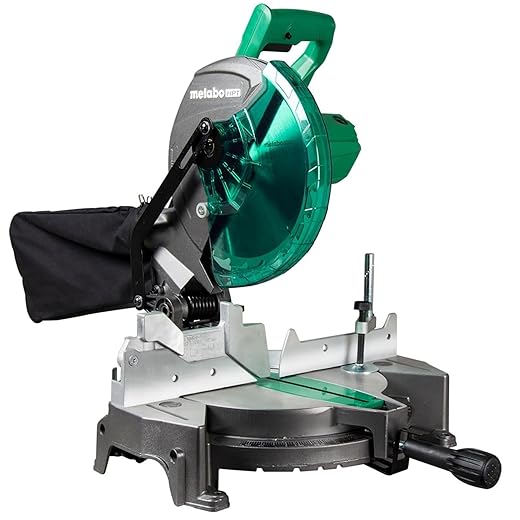
This step-by-step guide titled “How to adjust the miter angle on a chop saw” introduces the topic of using a chop saw and explains the importance of knowing how to adjust the miter angle effectively. The post aims to help readers properly align their chop saw blades to achieve accurate and precise cutting angles, addressing the common problem users face with incorrect angle adjustments leading to inaccurate cuts.
Affiliate links / Image courtesy of Amazon. As an Amazon Associate I earn from qualifying purchases.
Check Safety Precautions
- Turn off and unplug the chop saw: Before beginning any work, make sure the chop saw is completely powered off and unplugged from the electrical outlet. This will prevent any accidental starts while you are setting up or making adjustments.
- Put on appropriate safety gear: Wear gloves to protect your hands from any sharp edges and safety glasses to shield your eyes from flying debris. These safety measures will help keep you safe while operating the chop saw.
Examples:
- To turn off the chop saw, locate the power switch and firmly press it to the off position. Unplug the saw by pulling the cord from the electrical outlet.
- When putting on safety gloves, ensure they fit properly and provide good dexterity for handling materials. Choose safety glasses that have impact-resistant lenses and wrap-around frames for full eye protection.
Loosen Locking Mechanism
- Locate the locking mechanism for the miter angle adjustment at the back of the saw.
- Loosen the mechanism to enable adjustment of the miter angle.
Set Desired Angle
- Check the Angle Gauge: Locate the angle gauge or scale on your saw to set the desired miter angle. For example, if you need to make a 45-degree cut for a picture frame, adjust the angle gauge accordingly.
- Align the Saw Blade: Ensure the saw blade is properly aligned with the angle you set on the gauge. This step is crucial to achieve accurate and clean cuts in your woodworking projects.
- Double-Check Before Cutting: Before making the cut, double-check that the angle is precisely set to avoid any errors or inaccuracies in your woodwork. This extra step will save you time and materials in the long run.
Secure the Angle
- Once the correct angle is set, tighten the locking mechanism by turning the knob or lever clockwise until it is securely fastened.
- Check to ensure that the miter angle does not shift by gently trying to move the saw blade or miter gauge.
- If the angle remains stable, proceed with your cutting or mitering task. If not, readjust the angle and re-tighten the locking mechanism until secure.
Remember to always double-check the stability of the miter angle before operating the saw to avoid any inaccuracies in your cuts.
Test the Angle
- Turn on the chop saw.
- Make a test cut using a scrap piece of material.
- Check the angle of the cut to ensure it matches the desired miter angle.
- Adjust the miter angle if necessary to achieve the correct measurement.
Final Thoughts and Tips
In conclusion, adjusting the miter angle on a chop saw is a simple process that can greatly enhance the accuracy and efficiency of your woodworking projects. By following the steps outlined in this guide, you can ensure that your chop saw is set up correctly and ready for your next project. Remember to always prioritize safety and precision when working with power tools. Happy woodworking!
Tools and Materials
Affiliate links / Image courtesy of Amazon. As an Amazon Associate I earn from qualifying purchases.
Miter Angle Mastery
Operating Instructions for a Chop Saw
- Make sure you have the appropriate safety equipment such as safety goggles, ear protection, and potentially a dust mask
- Measure and mark your materials carefully before cutting to ensure accuracy
- Secure your material firmly in place using clamps or a vice to prevent any movement during cutting
- Adjust the saw blade angle and height according to the type of cut you need to make
- Once everything is set up, turn on the chop saw and slowly bring the blade down onto the material to make the cut
Chop Saw FAQ
A chop saw, also known as a miter saw, is a power tool used to make precise and straight cuts in wood, metal, or plastic. It works by lowering a circular blade onto the material at a high speed, slicing through it quickly and cleanly. The blade is mounted on an arm that can be adjusted to make angled cuts, commonly used in woodworking and framing to create accurate corners. Always ensure proper safety precautions when operating a chop saw, such as wearing safety goggles and keeping your hands clear of the blade.
When buying a chop saw, you should consider key features like blade size, motor power, cutting capacity, miter and bevel options, safety features, and the overall build quality. It’s important to choose a chop saw that matches your cutting needs and offers a balance between performance and durability. Checking reviews and comparing different models can also help you make an informed decision.
Sure! Here are some common troubleshooting tips for issues with a chop saw:
- Blade misalignment or dull blade: Make sure the blade is properly aligned and not dull. If misaligned, adjust or replace the blade accordingly.
- Motor issues: Check if the motor is running smoothly and not overheating. Clean any debris around the motor or cooling vents.
- Power supply: Ensure that the chop saw is securely connected to a power source and that the power supply is functioning correctly.
- Material jams: If the saw blade is getting stuck in the material, check for any obstructions or debris in the cutting area.
- Worn out parts: Inspect various components like the blade guard, fence, and arbor for any signs of wear and tear. Replace any worn out parts as necessary.
By following these troubleshooting tips, you can help identify and resolve common issues with your chop saw efficiently.
To properly set up a chop saw for accurate cuts, start by securing the saw on a stable work surface. Make sure the blade is sharp and in good condition. Adjust the cutting angle and height of the blade based on the type of cut you want to make.
Measure and mark your material before cutting to ensure accuracy. Use clamps or vices to secure the material firmly in place. Double-check the cutting angle and ensure the blade is perpendicular to the material for straight cuts.
Wear appropriate safety gear like goggles and ear protection before starting the saw. Hold the material securely and activate the saw, allowing the blade to reach full speed before making your cut. Let the blade come to a complete stop before lifting it from the material.
Always follow the manufacturer’s instructions and safety guidelines when using a chop saw for accurate cuts.
Yes, a chop saw can indeed be used for both commercial and personal DIY projects. It is versatile and can handle various types of cuts in different materials, making it suitable for a wide range of projects. Just make sure to follow safety guidelines and choose the right blade for the material you are cutting. Happy DIYing!


I used the miter angle adjustment on my chop saw to create custom picture frames for my photography business. It streamlined my workflow and allowed me to produce professional results efficiently.
That’s fantastic to hear! Utilizing the miter angle adjustment for picture frames is a great real-world application, showcasing the versatility of a chop saw.
I adapted the steps in the guide by marking key angles on my chop saw for quicker adjustments based on common angles I use. It saved me time during projects and reduced the chance of errors.
Customizing the process to suit your specific needs is a smart approach. Marking key angles can indeed make the adjustment process more efficient. Well done!
I encountered some difficulties securing the angle properly after adjusting. The angle kept shifting during cuts. Any troubleshooting tips to ensure a stable and accurate angle?
If you’re facing issues with the angle shifting, double-check the locking mechanism for any wear or debris that might be affecting its grip. Additionally, ensure you’re tightening it adequately to secure the angle in place.
Certainly! To achieve more precise miter angles, consider using a digital angle finder or making micro-adjustments using shims for fine-tuning.
Could you provide some advanced tips for achieving more precise miter angles, especially for intricate woodworking projects?
After following the guide, I adjusted the miter angle flawlessly and was able to create seamless corner joints for a DIY furniture project. The guide was incredibly helpful and made a significant difference in the quality of my work.
We’re delighted to hear about your successful furniture project! Achieving seamless corner joints is a testament to the accurate miter angle adjustments. Keep up the great work!
I followed this guide and successfully adjusted the miter angle on my chop saw to create perfect 45-degree cuts for framing my artwork. Thank you for the clear instructions!